
How to create a testimonial with Elementor
Looking for a way to create a testimonial with Elementor on your website? Here in this article, we will guide you to add a testimonial section to your website using the Elementor page builder.
Testimonial is very important to showcase client reviews and feedback. Client reviews and feedback create a very positive impression about your business or services. So you need to create this section with a beautiful design so that it can grab the attention of the users.
Creating a testimonial section is not easy if you do it manually. You need to have good coding knowledge as well as time. But with the help of Elementor and Absolute Addons, you can easily do it in just a few clicks. So let’s see how you can do it.
Create a testimonial with Elementor
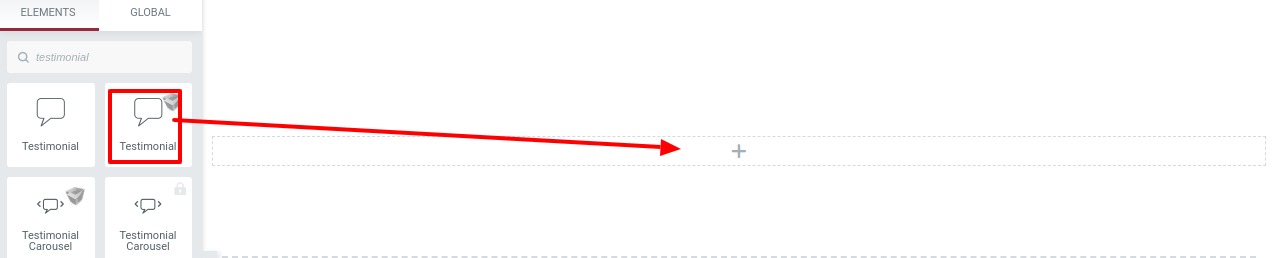
At first, install and activate the Absolute Addons plugins and then open up a page where you want to add the testimonial section. To use our Testimonial widgets, first, create a section by clicking on the “+” icon on Elementor. For the Testimonial section, you can choose a column section to display the information in a better way. After that from the block section of the left bar search for Testimonial. Drag the Testimonial block and drop it into your created section.
Now under the Content tab, you will find the Template option. From there select the Testimonial style from the Testimonial Style dropdown menu. There is twenty-five unique and professional-looking style available for the Testimonial section. You can choose any of the styles you want.
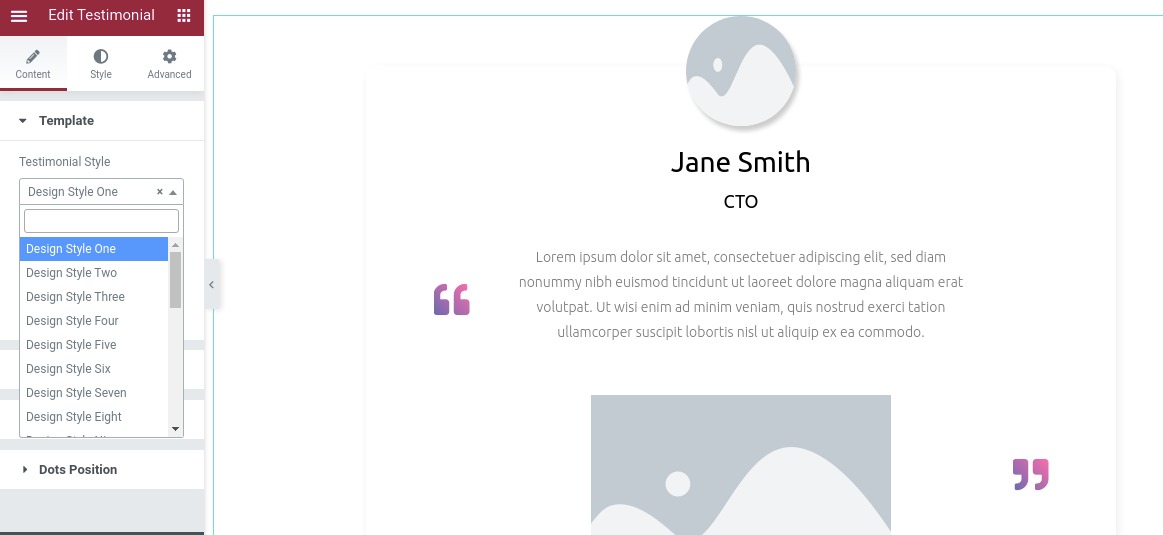
You can see all the Testimonial style from here
To edit any item just click on the item and you can see the title and designation field. Add your title in the Testimonial Title field and add designation in the designation field. From the testimonial image option, you can add your images. And in the description field, you will be able to add your text.

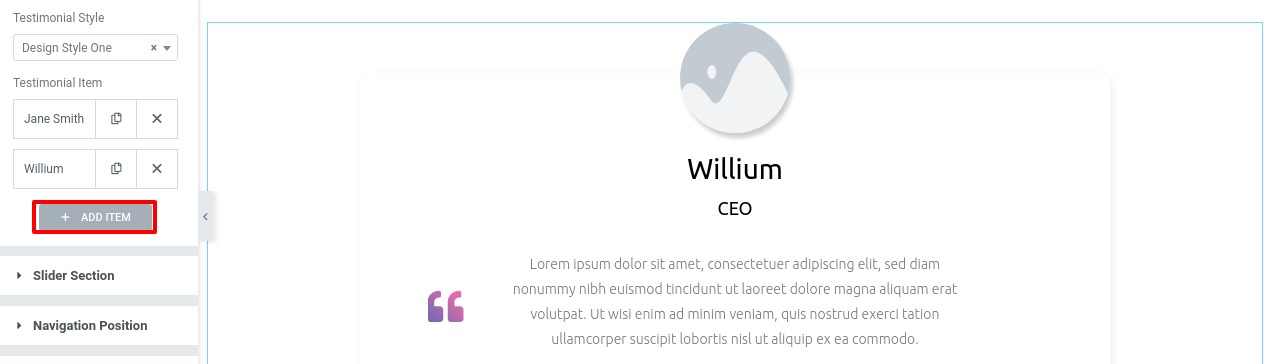
You can add an item by clicking on the Add item button. Just click on it and an item will be added and you can edit the title and content following the same procedure.
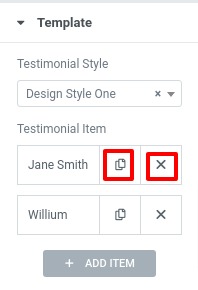
You can delete any item by clicking on the “X” icon and duplicate any item by just clicking the icon next to the delete icon.
 When your testimonial content is ready, move on to the slider section. You can select the number of sliders to display. You select 2 then two slides will display and select 1 it will display only one slide.
From the slide to scroll option, you can set the number of slides to scroll. You can also turn the autoplay and the loop value “yes” or “no”. And there is also an option to set the autoplay speed if you turned on the autoplay.

From the distance between slide option, you can set the distance between the available slides. Set your direction to move the slide from left or right using the direction option. Set the effect as slides or fade. There are some navigation options are also available. You can choose the navigation as –
- Dots
- Arrows
- Both
- None
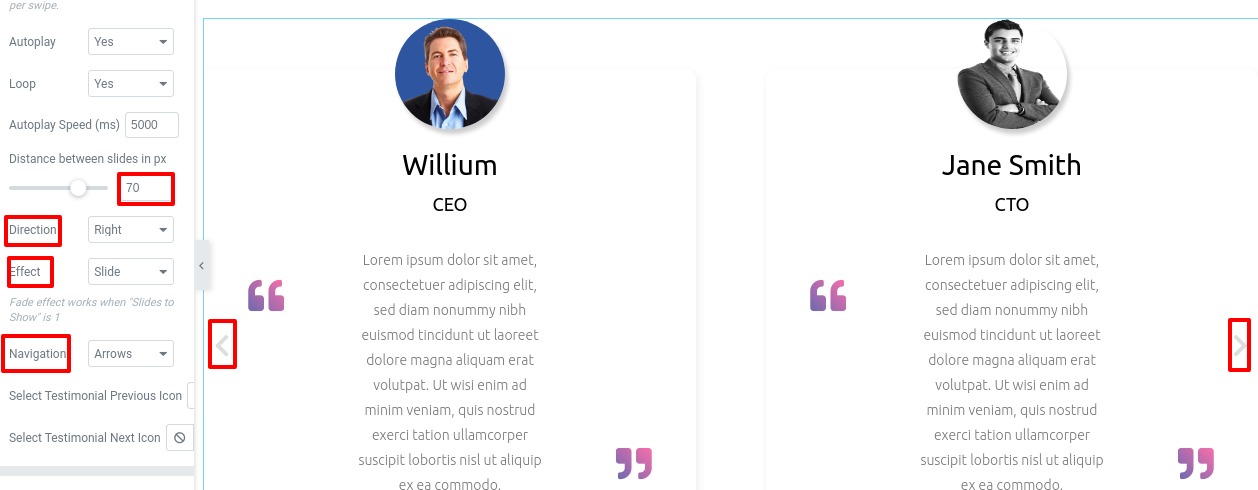
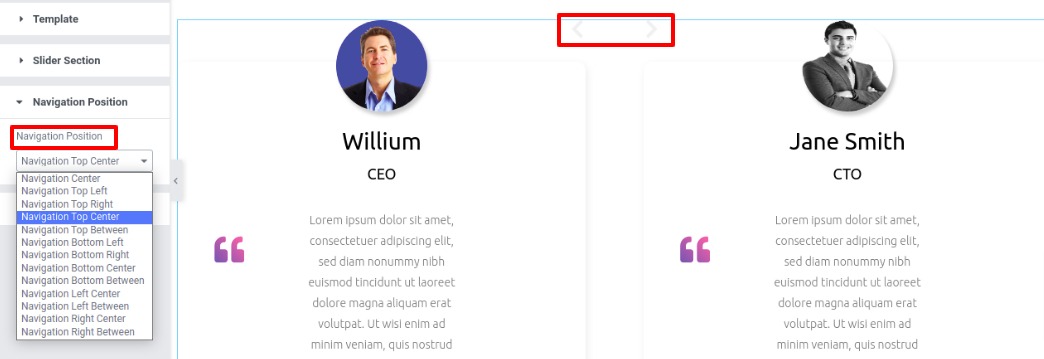
Using the navigation position option you can set the position where to place the navigation.
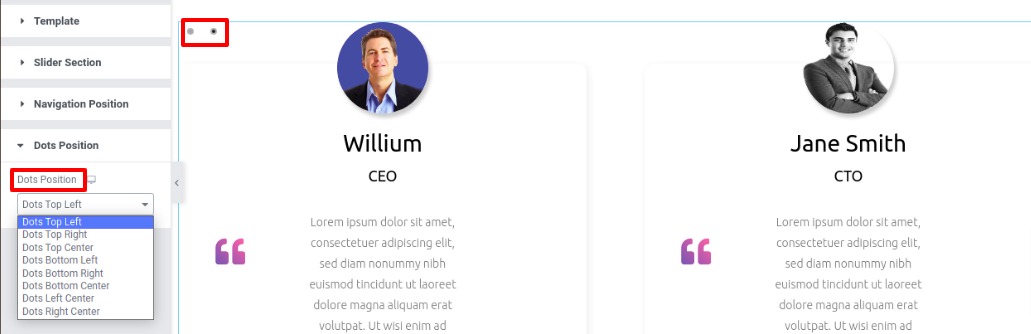
Use the dots position option to set the position to place the dots.
Step 2
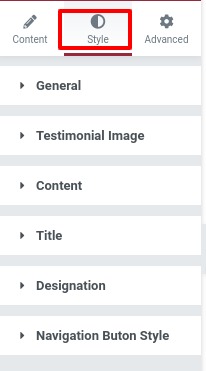
Now go to the style tab to design the testimonial section as your demand. You will find all the available parts to redesign.
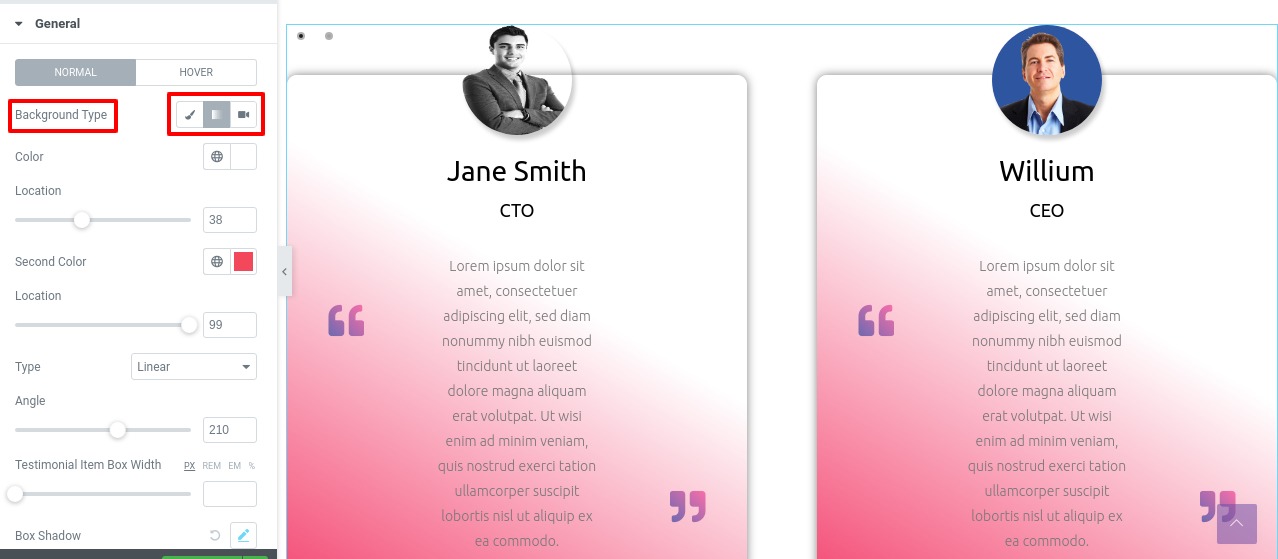
In the general menu, you can edit the style for normal and hover conditions. There are three background types available –
- Classic – you can add a single image here.
- Gradient – From the gradient option you can select color gradient as your background.
- Video – Add a video as background.
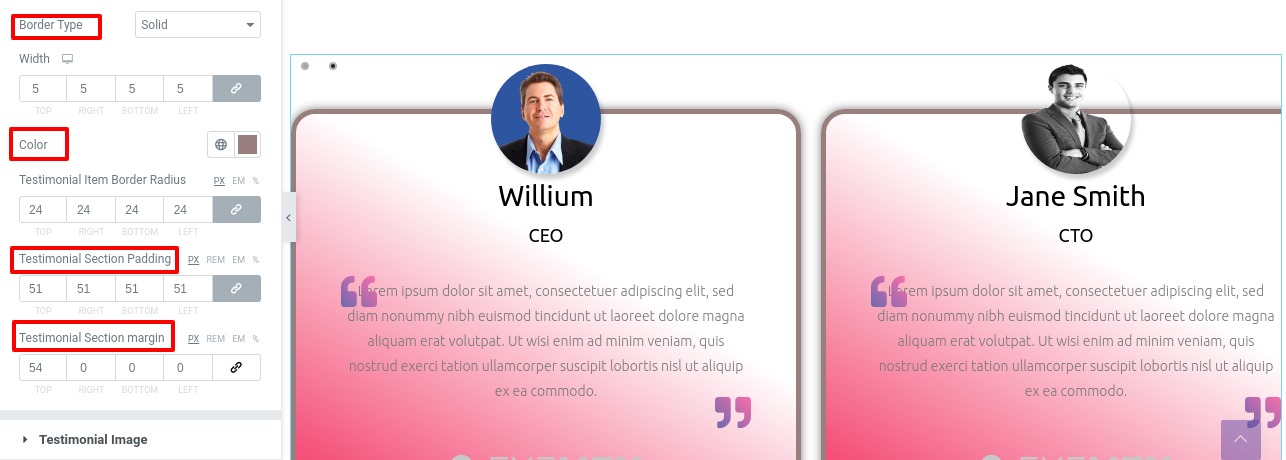
Set the box width from the testimonial item box width option. Add box-shadow in the box-shadow edit option.

Choose border from the border type option and then add border color and radius for the border from the border-radius field. You can also add padding and margin to set the box in the right position.
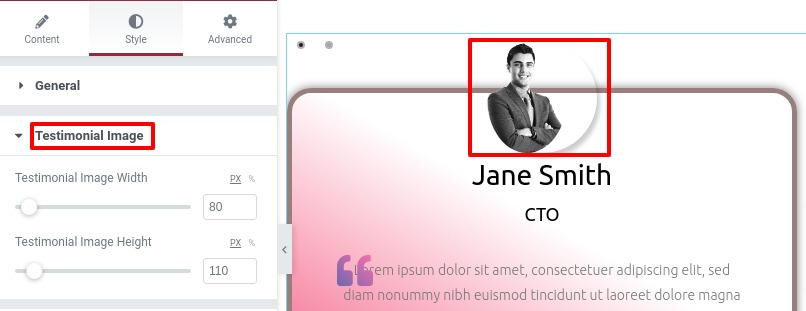
From the Testimonial image option, you can set the width and height of the images.
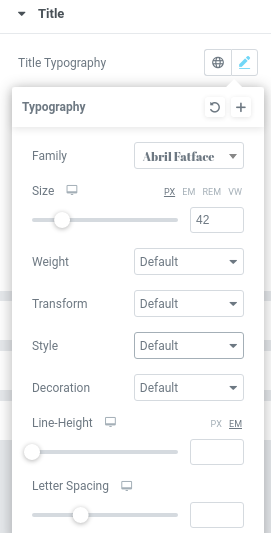
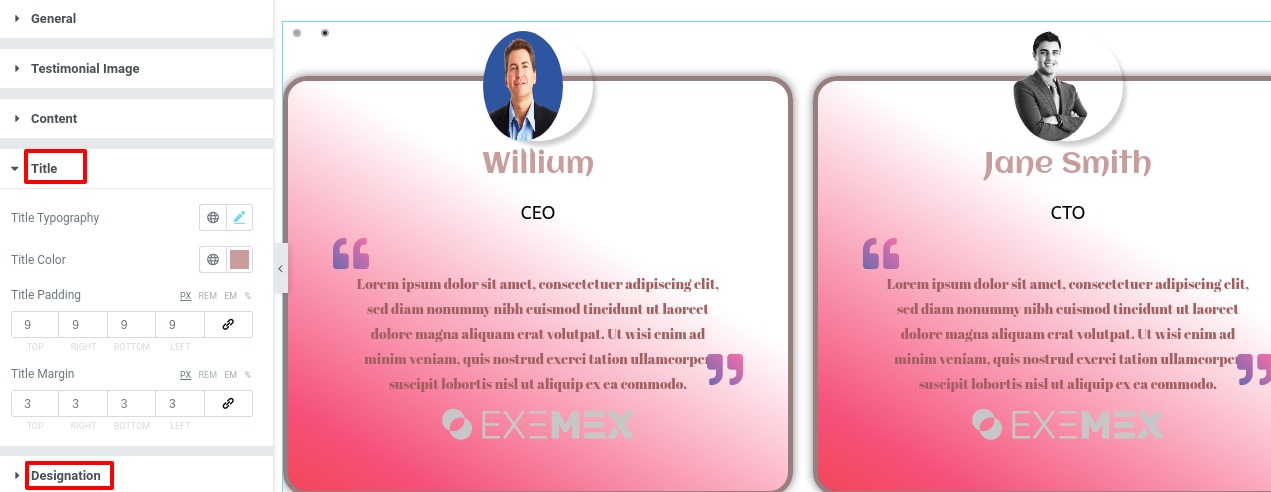
Now come to the content option to style your content part. In content typography you have two options, you can add custom typography or you can set your title from the style options.
Click on the edit option and the style page pop up where you can set the font family, font size, width, line height, and text transform.
Set the color from the content color option and add margin and padding to set the position.
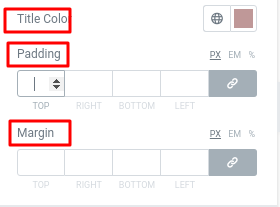
Style your Title and Designation following the same way you style the content. All the options are the same as we describe the content section.
Well done! you have successfully redesign your Testimonial section.
Wrapping Up
Following the process, you will be able to add a testimonial section to your website. You can see our other articles to learn How to create a testimonial carousel with Elementor
How to create beautiful image carousel with Elementor
We hope this article will help you. If you like this article please like our Facebook page and subscribe to our Youtube channel.
One Comment