Create skill bar in Elementor website using Absolute Addons
Are you trying to add a skill bar section to your Elementor website? Adding a skill bar section manually to your website is a very hard task and needs a lot of time. But there are solutions like Absolute Addons which will enable you to easily create a skill bar section with advanced features and functionalities.
The Skill Bar section is a very essential part of your website which will enable you to display project percentages, user skill, and other useful information in a unique and professional way. A well-designed skill bar section can attract the audience and improve your conversion rate. So let’s see how you can add a skill bar using Absolute Addons.
Why do you need to use the Absolute Addons Skill Bar widget?
A skill bar section is very important for your website to display different potential information in a creative way. Elementor has its own progress bar widget which offers you to add a progress bar with very limited features. It doesn’t offer you much control over your progress bar section.
So if you need advanced features with unique layouts then you need to try the Absolute Addons skill bar widget. The skill bar widget offers you more control like adding animation, tooltip, and many more.
Create a skill bar section using Absolute Addons
To use the skill bar widget, you need to install the Absolute Addons WordPress plugin. After successfully activating the plugin opens up a page where you want to add the skill bar section. Now click on the “+” icon on Elementor and then from the block section of the left bar search for Skill Bar. Drag the Skill Bar block and drop it into your created section.

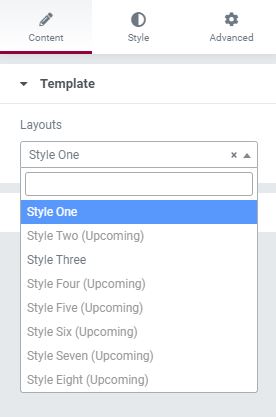
Now under the Content tab, you can select the layouts from the templates dropdown menu. There are different professional-looking styles available for the Skill Bar. You can choose any of the styles you want.
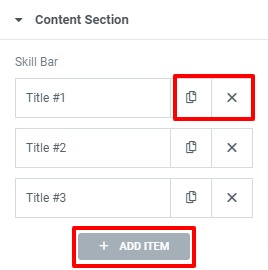
Now click on the context menu where you will see your skill bar items. By default, there are three items available. You can delete any of the items by clicking on the “X” icon, similarly, you can copy any item by clicking the copy icon. Click on the Add item button to a new item.
Click any of the items to edit the information. At first, you can add the title and select the HTML tag for the title. There is also an option to show or hide the title. After that, you can add an icon from the icon library.

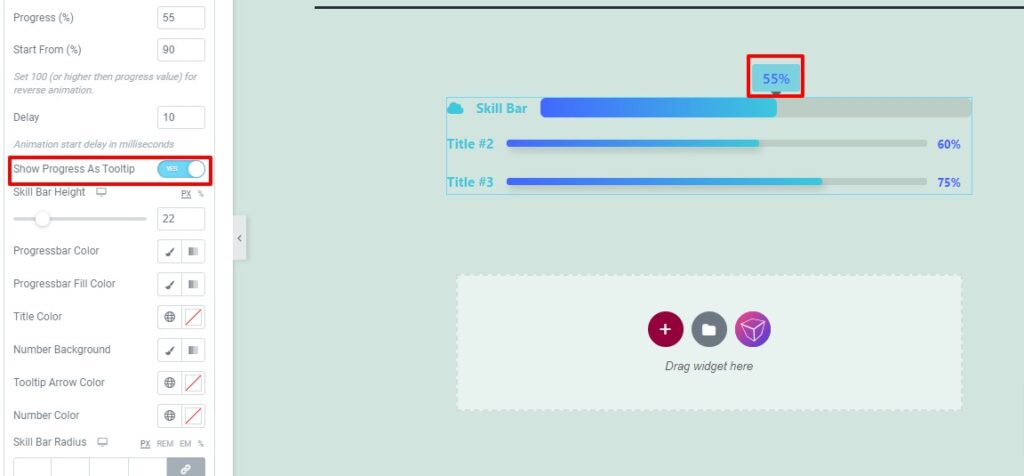
Now you can set the progress value and start value. If the start value is larger than the progress value the skill bar progress animation starts from the end. You can also set the animation delay time too.
You can also enable the progress bar tooltip option. The tooltip option is only available for the pro user. Now add the skill bar height and set progress bar color, progress fill color, title color, number color, number background color, tooltip arrow color, and skill bar radius.
Step 2
Move on to the Style menu where you will find different style options to customize your skill bar section.
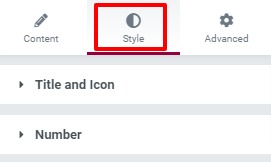
Title & Icon
Set title typography like font family, size, line height, and letter spacing. You can also set the tile and icon padding too.
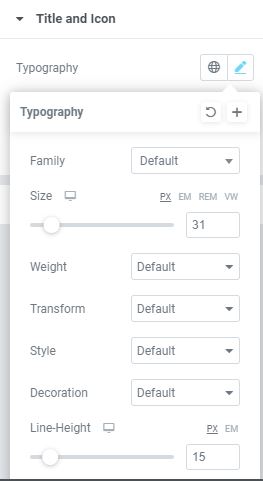
Similarly, you can the number typography and padding.
That’s it! your skill bar section is fully ready to use.
Wrapping Up
Following the process, you will be able to add a skill bar widget to your Elementor website, You can see our other articles to learn How to create a testimonial with Elementor
How to create a beautiful image carousel with Elementor
How to create portfolios with Elementor
We hope this article will help you. If you like this article please like our Facebook page and subscribe to our Youtube channel.


2 Comments