
Create a beautiful infobox with Elementor in your website without coding
Do you want to create an infobox with Elementor to make your website more attractive? Here in this article, we will guide you to create an infobox carousel for your website without a single line of coding.
An infobox is a very important part of a website. Using an infobox on your website you can display different useful information. Creating an infobox is very easy if you have the right tools. You can add an infobox to your website manually too but that will take lots of effort and time. But there are solutions like Elementor and Absolute Addons which enable you to add the infobox in a few clicks without adding a single line of code.
Things you need to create a WooCommerce Product Grid
- Elementor – To customize your website without coding you need to install and activate the Elementor website builder plugin.
- Absolute Addons – The Infobox widget is available in the Absolute Addons so you need to install and activate the plugin too.
Step 1
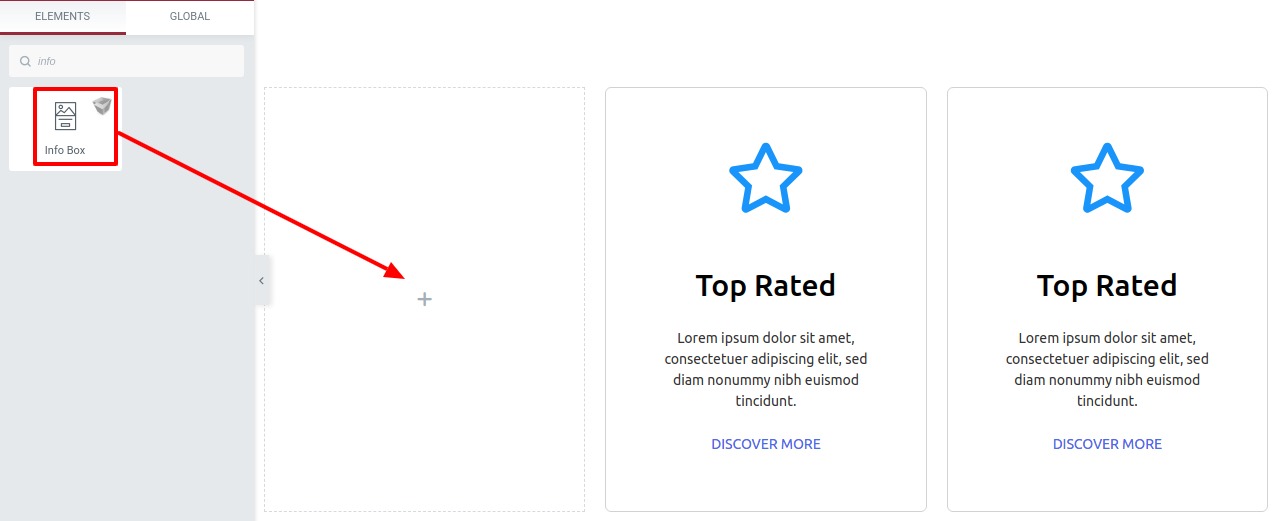
To use our Info Box widget first, create a section by clicking on the “+” icon on Elementor. For the Info Box section, you can choose a 3 or 4 column section to display the information in a better way. After that from the block section of the left bar search for Info Box. Drag the Info Box block and drop it into your created section.
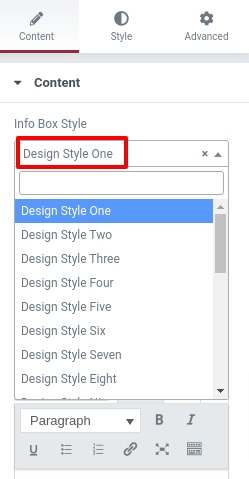
Now under the Content tab, you can select the infobox style from the Info Box Style dropdown menu. There are twenty-five unique and professional-looking styles available for the Info Box section. You can choose any of the styles you want.
You can see all the Info Box styles from here.
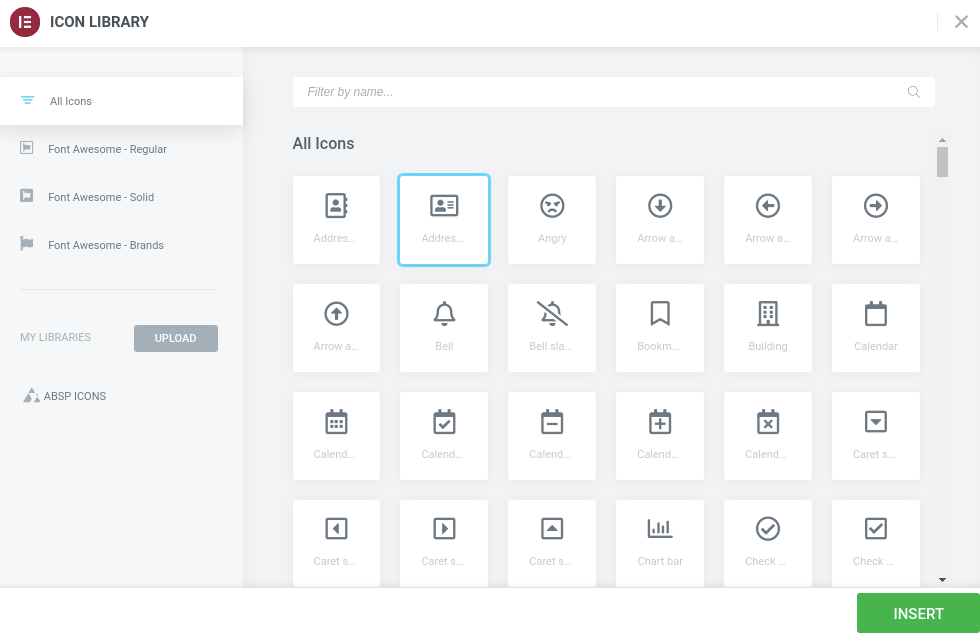
After selecting your style you can change the icon from the Icon or SVG option.
![]()
To add an icon from the icon library click on the Icon library option and it will pop up the Elementor default icon library page. Just select the icon you want to add and then click on the Insert button.
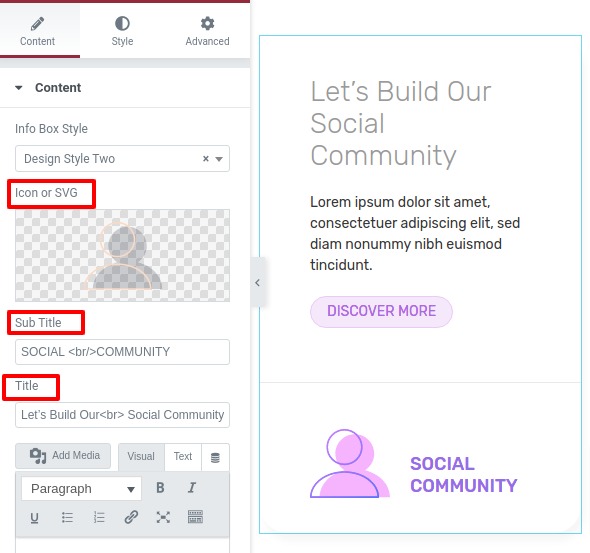
You can change the title text from the title field, button text from the button title field, and in the button link field add the link to redirect when someone clicks on the button. Do the same thing for all the columns.
Step 2
Move on to the Style tab and click on the icon menu and icon style options will open up. Set your icon background from the icon section background field, set border type, border radius, box-shadow. Add margin and padding to set the icon in the right position.
![]()
Now come to the title option to style your title text. In title typography you have two options, you can add custom typography or you can set your title from the style options.
Click on the edit option and the style page pop up where you can set the font family, font size, width, line height, and text transform.
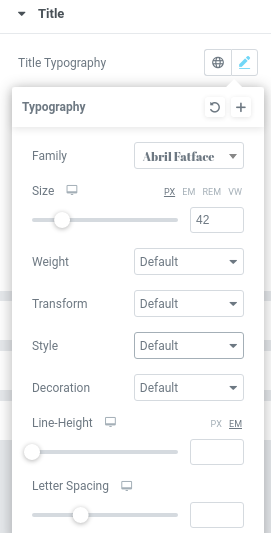
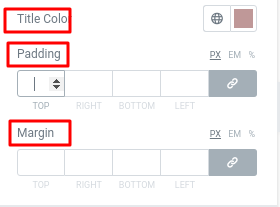
Set the color from the title color option and add margin and padding to set the position.
You can enable or disable the separator from the separator option. You can set the separator color and add width height.
![]()
In the button menu, you can add style in two conditions normal and hover. You can style button typography the same way you did to the title text. Then you can set button color, button background type, button border, border radius, box-shadow, padding margin. All the procedure are same you did it earlier.
![]()
For the button hover section, you can also set some styles like button color, background type, border color, radius.
![]()
Great! You have completed your infobox carousel section.
Wrapping Up
Following the process, you will be able to create a stunning and unique info box on your website. You can see our other articles to learn How to add recent blog posts to Elementor.
How to create a beautiful icon box carousel with Elementor
We hope this article will help you. If you like this article, please like our Facebook page and subscribe to our Youtube channel.
One Comment